Most people picture a grab bar as something for a hospital room. In a real home, it is closer to a sturdy handrail that happens to live in the bathroom. It gives your hand a safe place to land when a wet floor, a tall tub wall, or a tired knee makes the next step uncertain.
The bar itself is simple. The installation is not. A grab bar that looks solid but is screwed into drywall alone can pull out of the wall at exactly the moment someone leans on it. This guide covers where grab bars belong, the measurements that matter, what the job costs in the Atlanta area, and what a safe installation looks like behind the wall.
1. Why the Bathroom Comes First
The CDC reports that more than 14 million older adults, about 1 in 4, fall each year, and falls are the leading cause of injury for adults 65 and older (CDC, Older Adult Falls Data). The bathroom concentrates the risk: hard surfaces, water, soap, and constant changes in height from standing to sitting to stepping over a tub wall.
The National Institute on Aging recommends grab bars near the toilet and on both the inside and outside of the tub or shower (NIA, Preventing Falls at Home: Room by Room). That guidance is a good starting map for any home, whether you are planning for a parent, a spouse, or yourself.
2. Where Grab Bars Actually Belong
Every bathroom is a little different, but four locations cover most of the real-world risk.
Beside the toilet. Standing up from a low seat is a moment when many people need to push, not just balance. A horizontal bar on the side wall gives you something to push against. A second bar on the wall behind the toilet is useful where the layout allows it.
Inside the shower or tub. A horizontal bar on the long wall supports you while you wash and turn. If you use a built-in bench, a bar within easy reach of the seat makes standing up much safer.
At the shower or tub entry. This is where many slips happen, because one foot is wet and the other is not. A short vertical bar at the entry, or one mounted on the outside wall next to the tub, gives you a steady hold while stepping over.
Along the route in. In some homes a bar by the bathroom door or beside the vanity makes sense, especially if the floor changes height at the threshold.
The right plan depends on how the person moves, which hand is stronger, and how the room is laid out. That is why a short walk-through before drilling anything is worth the time. KD Pro's safety upgrades service starts that way.
3. The Measurements That Matter
Private homes are not required to follow the ADA Standards for Accessible Design, but those standards are the most widely used benchmark for grab bar safety, and installers use them for good reason. The U.S. Access Board publishes the numbers, and they are worth knowing before you approve any installation (Access Board, Toilet Rooms guide).
- Height: horizontal bars are mounted 33 to 36 inches above the floor, measured to the top of the gripping surface (ADA Standards, Section 609.4).
- Thickness: a round bar should be 1 1/4 to 2 inches in diameter so a hand can wrap around it comfortably.
- Wall clearance: 1 1/2 inches between the bar and the wall, so knuckles do not scrape and an arm cannot get trapped.
- Strength: the bar, its fasteners, and the wall behind it must withstand 250 pounds of force.
- Beside a toilet: the rear bar is at least 36 inches long and the side bar at least 42 inches long.
Those are starting points, not rigid rules for a private bathroom. A person who is shorter or taller, or who uses a walker, may need a slightly different height. A good installer asks the person who will use the bar to reach for it and adjusts the plan to fit.
4. The Part You Cannot See: What Holds the Bar Up
This is where installations succeed or fail. A grab bar is only as strong as what it is fastened to.
Drywall is not a structure. A bar held by plastic wall anchors in drywall can look perfectly secure for months and then fail under a sudden load. The standard method is to anchor into wall studs, or into solid wood blocking installed between the studs. KD Pro's safety upgrades page describes the same standard: grab bars anchored into studs, never drywall alone.
Studs are not always where you want the bar. Studs are typically spaced 16 inches apart, but the bar you need may not line up with them. Older homes can be less predictable. Plaster walls, past renovations, and plumbing runs can all change what is behind the surface. A stud finder helps, but it does not replace opening up or probing carefully when the wall is a mystery.
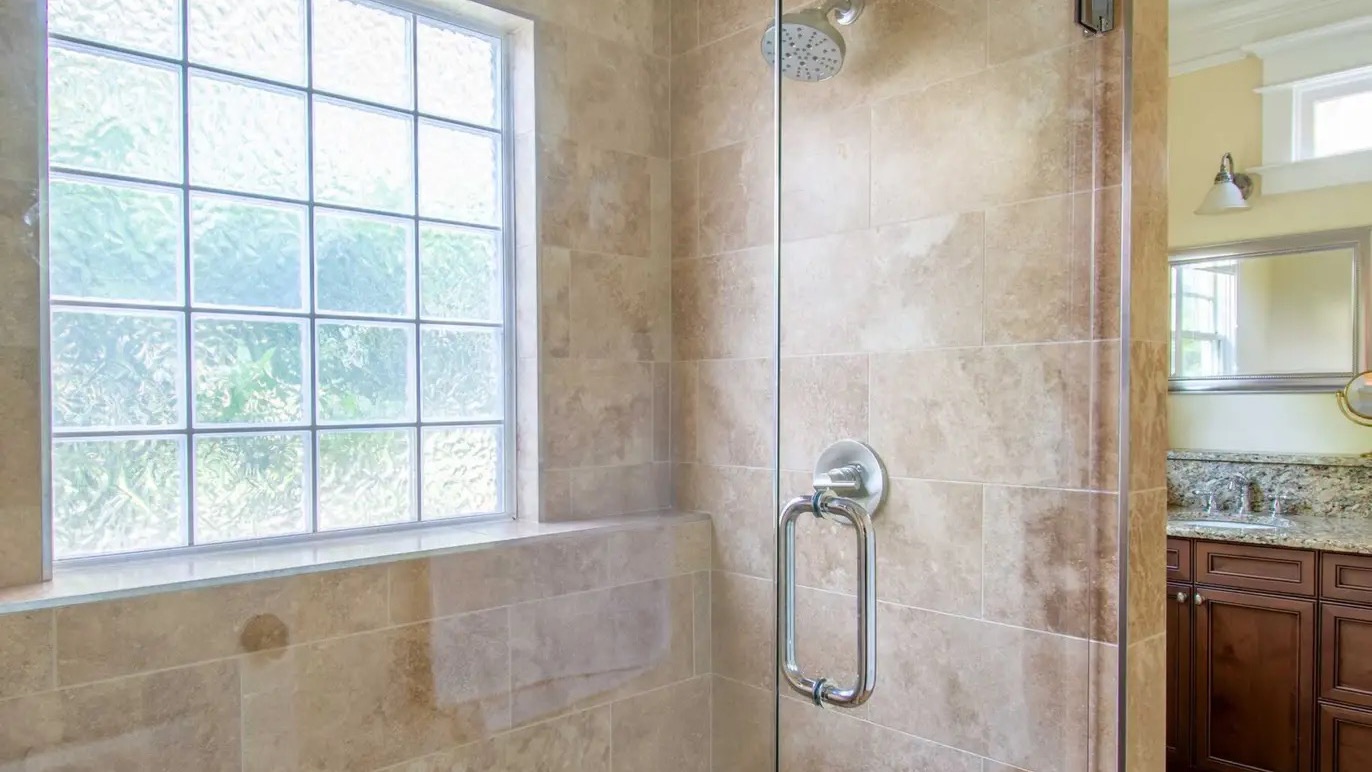
Tile and fiberglass need the right bit. Drilling through ceramic or porcelain tile takes a carbide or diamond tipped bit and a steady hand to avoid cracking the tile. Every hole in a wet wall must be sealed with a waterproof sealant so water does not seep into the wall cavity over time.
Know what is behind the wall. Tub and shower walls often hide supply lines, drain lines, and sometimes wiring. Drilling blind is how a safety project turns into a plumbing repair.
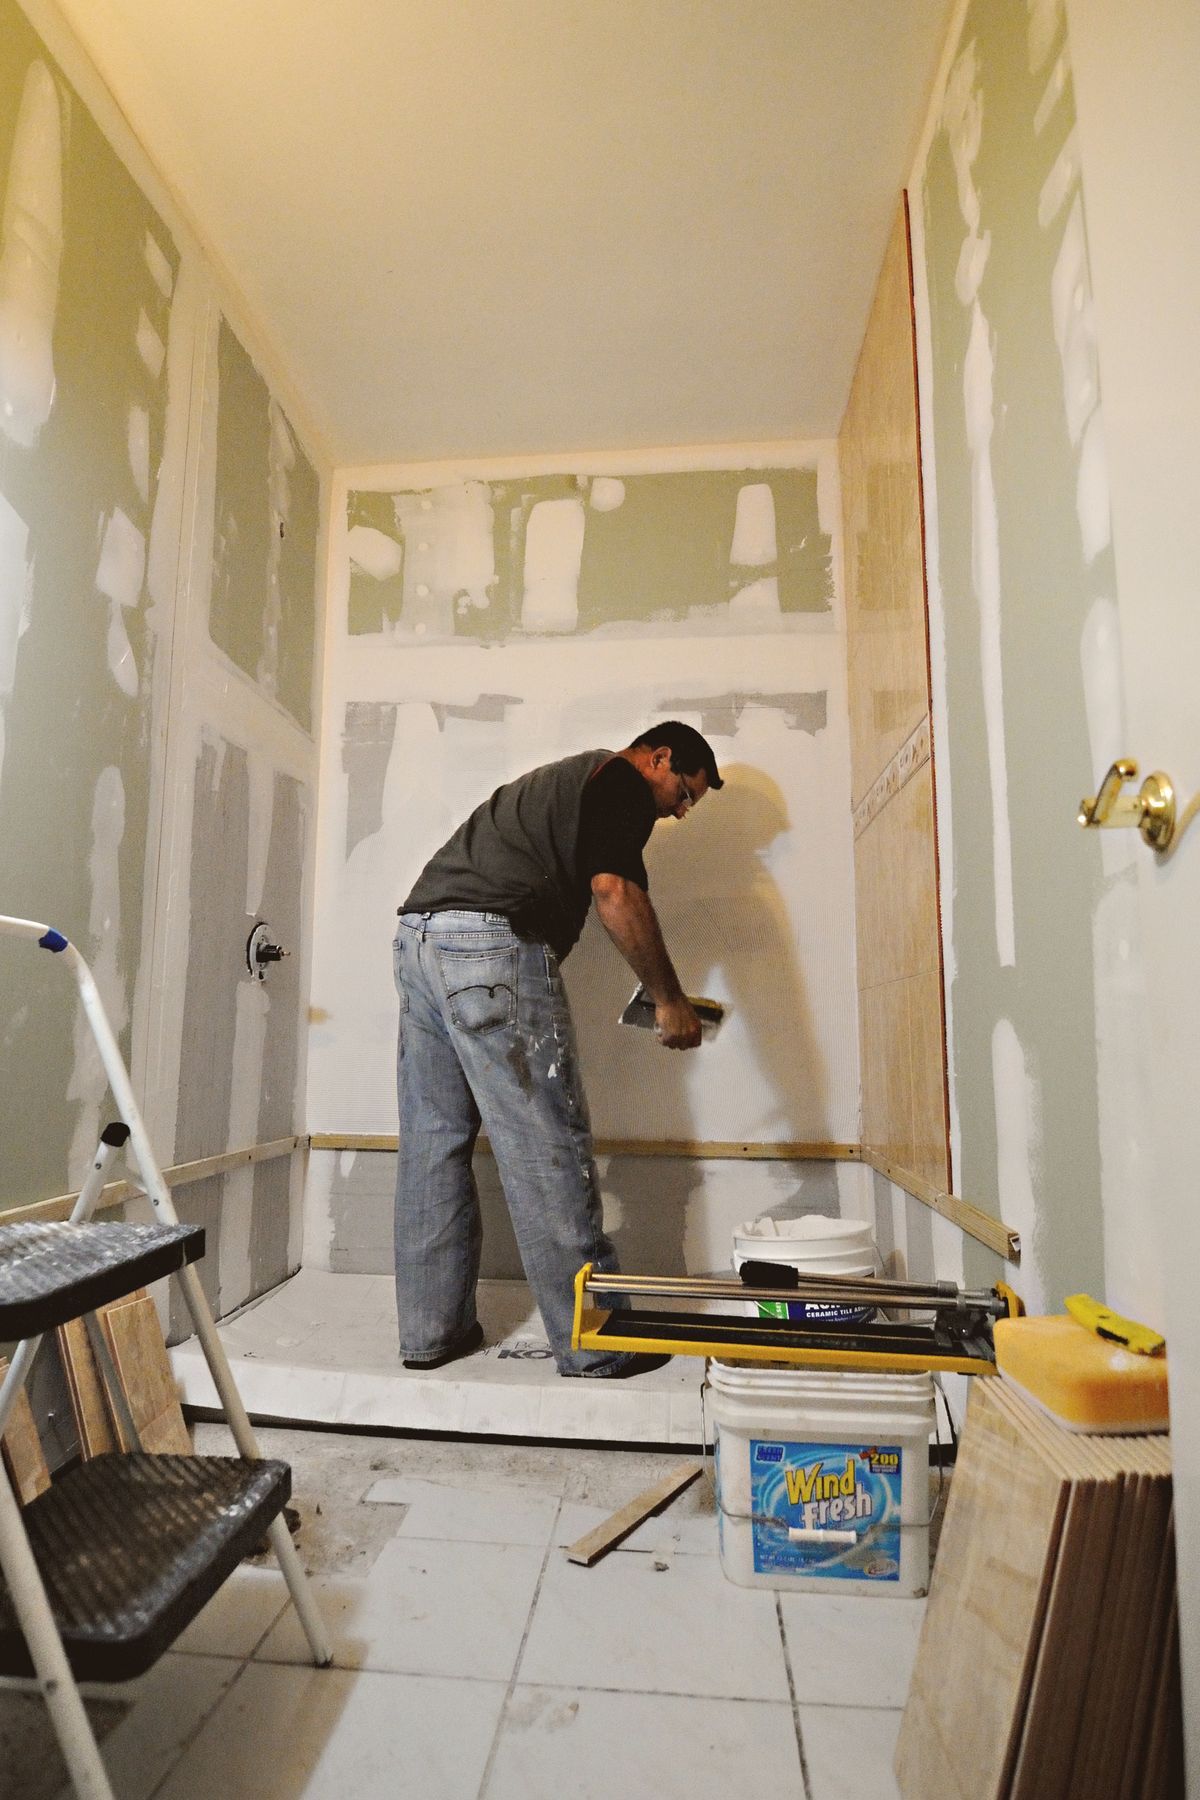
When the wall is already open, adding blocking is the easiest and strongest approach. If you are planning a bathroom update, ask for blocking at the future bar locations even if you are not installing the bars yet. It costs little during construction and saves a lot later. Our bathroom remodel cost guide explains where those decisions fit into a larger project.
5. Towel Bars and Suction Bars Are Not Grab Bars
Two substitutes cause the most trouble.
Towel bars. They are designed to hold a towel, not a person. They are usually fastened with short screws into drywall or thin anchors, and they can come off the wall under body weight.
Suction cup bars. Suction can release without warning, especially on textured tile, over soap film, or as humidity changes. They may be fine for a rental bathroom where drilling is not allowed, but they are not a safe substitute for a bar that is mounted into the structure of the wall.
If a bar is sold as a grab bar but its instructions mention only drywall anchors, treat that as a red flag. The strength of the installation is what protects you, so ask exactly how it will be fastened.
6. Choosing a Style You Will Actually Like Living With
Many people hesitate because they do not want the bathroom to look like a care facility. That concern is fair, and today it is easy to address.
- Finish: brushed nickel, matte black, and oil rubbed bronze bars can match your faucets and fixtures, so the bar looks like part of the design.
- Grip surface: a lightly textured or knurled surface gives better traction when wet than a high polish.
- Contrast: a bar that stands out slightly from the wall color is easier to find with limited vision.
- Dual purpose: some towel bar and shelf designs are built and tested as true grab bars. Confirm the load rating before relying on them.
A tasteful bar installed correctly is the kind of detail visitors rarely notice and the person using it appreciates every day.
7. What Grab Bar Installation Costs in Atlanta
For a typical Atlanta home, a properly anchored grab bar package usually runs about 250 to 600 dollars. That range is consistent with what we outline in our guide to aging in place home modifications. Where your project falls in that range depends on a few things:
- Number of bars. One bar beside a toilet costs less than a full set for the toilet, tub, and shower.
- Wall type. Drywall with accessible studs is the simplest. Tile, fiberglass surrounds, and plaster walls take more time and care.
- Blocking. If the studs are not where the bar needs to go, adding blocking behind an open wall changes the scope.
- Hardware. Designer finishes and longer or angled bars cost more than basic stainless models.
- Related work. Adding a handheld shower, a bench, or non-slip flooring in the same visit is often more efficient than scheduling each separately.
If a quote is far below this range, ask what is being left out, particularly the anchoring method. If your needs are broader, the same visit can be combined with other aging in place modifications.
8. Who Should Install Them
Grab bars are one of those jobs that look like a quick DIY project and carry real consequences if done wrong. We cover the broader pattern in our post on home repairs Atlanta homeowners should never DIY, and grab bars belong on that list for most people.
When you compare installers, ask these questions:
- How will the bar be anchored: into studs, into blocking, or with anchors?
- Will you check for plumbing and wiring before drilling?
- How do you seal holes in a tile or tub surround?
- Are you licensed and insured, and can I see proof?
- Is the work covered by a written guarantee?
KD Pro Handyman & Remodeling is a Georgia licensed general contractor, fully insured, OSHA 30-hour safety certified, and CAPS certified (Certified Aging-in-Place Specialist), with credentials listed on the safety upgrades page. You can review the contractor license and the workmanship guarantee before you book. We serve homeowners in Tucker, Decatur, and the surrounding Atlanta neighborhoods.
9. A Simple Checklist Before You Book
- Walk through the bathroom with the person who will use the bars and mark where they naturally reach.
- List every spot: toilet, tub or shower interior, entry, and any steps or thresholds.
- Decide on a finish that matches your fixtures.
- Ask how the bars will be anchored and how the holes will be sealed.
- Confirm the installer is licensed and insured.
- Plan to test each bar after installation by pulling firmly down and out. It should not move or creak.
If you would like help with the walk-through, KD Pro offers a free estimate for safety upgrades across Decatur, Tucker, and the greater Atlanta area. You can also call 678-379-3919.
FAQ
Frequently Asked Questions
Davey
Professional handyman and home improvement expert with over 10 years of experience serving the Atlanta metro area.
Need Professional Help?
Contact KD Pro Handyman & Remodeling for reliable, licensed services in Atlanta.